Friday 8 November 2013
Flash Basics: The Stage
The stage of Flash is where you draw. You can draw on both the white and grey sections of the document, but only the white section (the stage itself) will be rendered out. Because of this, the grey section in a good place to hide references and notes in.
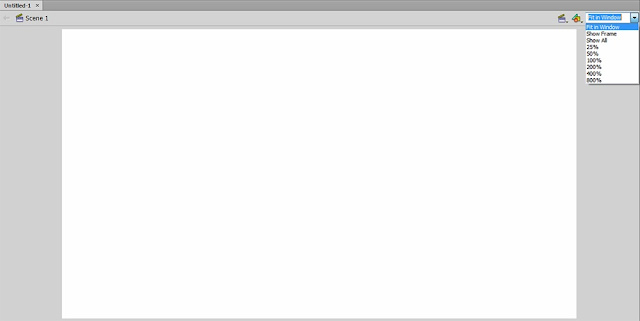
The stage can be zoomed in and out of by selecting from the drop-down menu or using the Zoom tool, and panned around in by selecting the Hand Tool or holding down the Space Bar and dragging. Selecting the Show Frame or Fit in Window will reset the zoom to show the stage. Selecting Show All, however, will show everything that's inside and outside the stage.
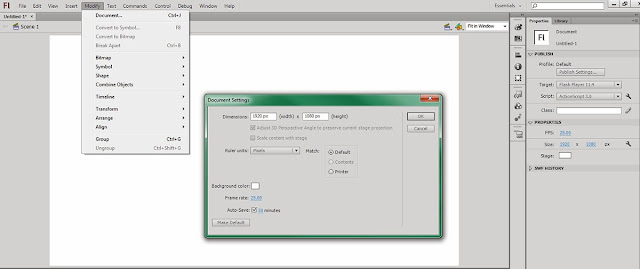
By default, the stage is white, but the colour can be changed in the Properties panel or by going to Modify > Document (Control+J or ⌘+J). Using either of these options lets you change the size, frame rate and background colour of your document, but only in the Document Settings panel can you alter the auto-save option and defaults.
The auto-save option is very important in Flash. By default, the auto-save is off and set to 10 minutes. Flash is a program that tends to crash under strain, especially in weaker computers or when handling large files, so the auto-save feature is important. Ideally, set the auto-save to 30 minutes.
Clicking the Make Default button makes all your changes the default so future new documents will use your settings. After clicking the make default button, click okay to continue working.
Subscribe to:
Post Comments (Atom)


No comments:
Post a Comment